Most of the attention in a flooring specification goes to the long edges, because that is where the tongue and groove is easy to see. The short ends get less thought, yet they are where a floor most often shows a flaw: a step between boards, a gap that opens in winter or a corner that crushed in transit. An end-matched board carries a tongue on one short end and a groove on the other, so the ends join the way the sides do. This guide explains why that matters, how the ends are machined and how to check them.
What end matched means
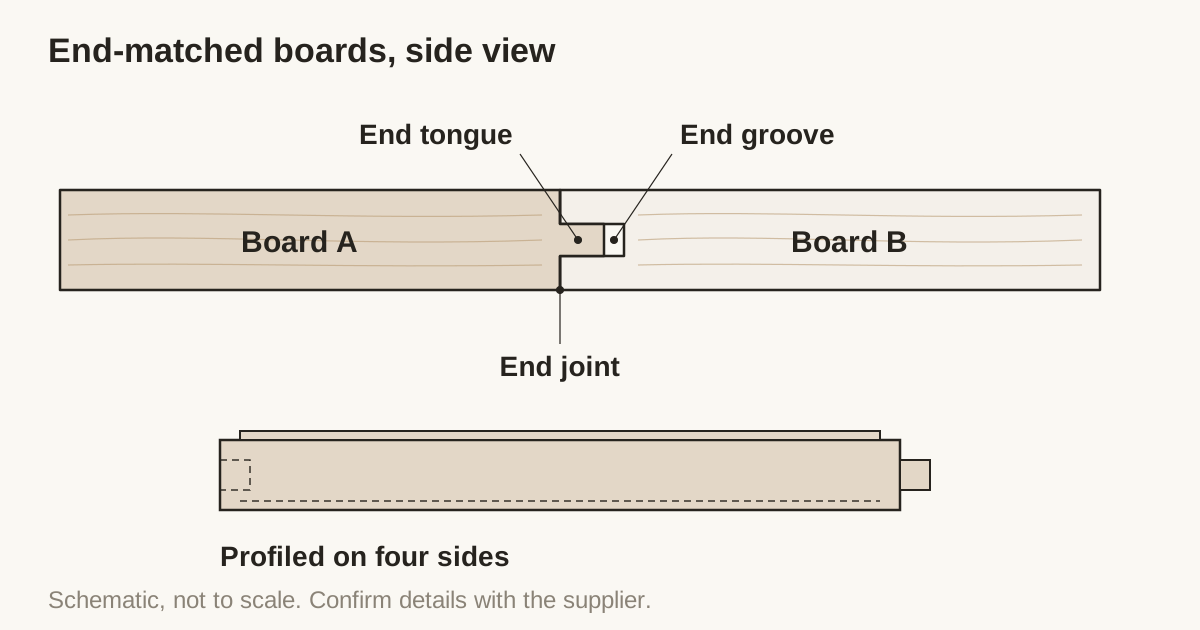
A tongue and groove board has a tongue along one long edge and a matching groove along the other. When the short ends are profiled in the same way, the board is called end matched. At Vu Uy Wood, Tongue & Groove profiles are machined on all four sides, so the ends and the edges are treated as one system.
The alternative is a square end, cut straight across with no profile. Square ends are acceptable in some formats, such as a block or a parquet piece that is laid to a drawing. In a plank floor they leave each end joint relying on the subfloor and on fixings to stay level.
Two things follow from an end profile.
- The end joint holds the same plane as the side joint. The tongue and groove keep neighboring boards level with each other along the end as well as the side.
- Random length becomes practical. With profiled ends, joints can fall wherever a board runs out, which is how a straight-lay plank floor in random lengths is normally installed. See random length against fixed length.
How the ends are machined
The long edges and the ends are machined on different equipment. On our line a four-side molder cuts the profile on the long edges, and a double end tenoner squares both ends and cuts the end profile. Both machines work on the same board in turn.
| Stage | What it does | Why it matters at the end joint |
|---|---|---|
| Cut to length | Both ends are squared to a common length | Boards of equal length meet cleanly in fixed length formats |
| End profile | Tongue on one end, groove on the other | The joint locks in plane with the side joint |
| Long edge profile | Tongue and groove on the sides | The end profile must match the side profile in depth and height |
| Calibration | The board is brought to thickness | Neighboring boards sit level at the end |
The end profile has to relate to the side profile. If the two are cut from different datum points, a board can fit well along its sides and sit slightly proud at its ends. Controlling the datum, the cutter wear and the board thickness together is what keeps all four joints consistent. Our article on tongue and groove profile accuracy goes through the machines and what each one controls.
What goes wrong at an end joint
Most end joint complaints come from a small number of causes.
- A step between boards. One board sits higher than the next at the end. Causes include thickness variation, a profile cut at the wrong height, or a subfloor that is not flat under the joint.
- An open gap. The ends do not close fully. Causes include an end profile cut loose, a square end that is not truly square or a board that moved after profiling.
- A crushed tongue. The end tongue is thin and exposed. Boards that are dropped, or cartons that are stacked unevenly, can crush it and make the board hard to fit.
- Different board lengths in a fixed length run. If lengths vary, the joints no longer line up in the pattern the designer drew.
- Noise. A loose end joint over a hard subfloor can tick or creak under traffic. That is a fit problem at the joint, not a defect in the oak.
A panel that is conditioned before machining holds its profile better, and a profile cut into a panel that is still settling does not. The steps are covered in wear layer bonding and pressing.
Why it matters to the installer
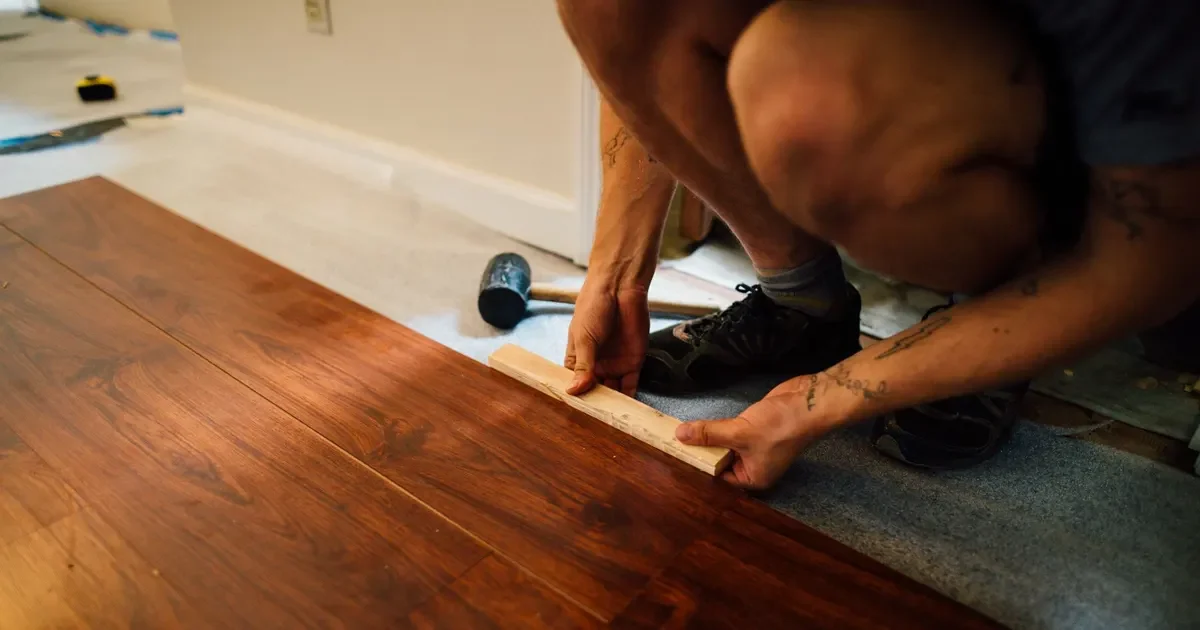
Crews judge a supplier by how the first cartons go down. With a good end profile, the installer slides the end tongue into the groove of the previous board, taps the board home and moves on. The row stays straight because each end joint is held level by the profile, and the installer does not have to shim or plane a joint to bring one board flush with the next.
With a poor profile the crew slows down. Boards need to be forced, a hammer pushes the joint out of line along the row and the fixings are asked to do the work that the profile should do. Time lost on site is the cost the buyer hears about first, usually as a complaint about the batch, so it pays to check the end fit before the order is confirmed.
The installation method changes how much the end joint carries. In a glued floor, the adhesive holds boards in place and the profile keeps them level. In a floating floor, the profile and the bond between boards hold the floor together, so the end fit matters even more. See how installation method shapes the specification.
How end joints show up in a finished floor
On a plank floor the ends are visible as a pattern. A good end joint reads as a fine line, so the eye sees boards and grain and not joints. A poor one reads as a row of short dark lines at regular intervals, and in low light it casts tiny shadows.
Edge detail changes this. A micro-bevel outlines the end as well as the side, and it makes the ends more visible, while it also masks small height differences. A square face edge makes the end joint nearly disappear when the fit is accurate and shows every flaw when it is not. The guide to square edge and micro-bevel compares them.
Ends in pattern floors
Herringbone, chevron and parquet use short pieces, so the ends are most of what a joint is. A block that is machined with accurate lengths and square ends fits its neighbors in the pattern, and one that is slightly off shows in the geometry as drifting lines. Chevron boards have mitered ends, cut at the angle you specify, and the angle must be exact for the point to meet. For these formats the end profile, the length tolerance and the drawing belong together. See herringbone specification and chevron angle.
Packing and transport
The ends are the most exposed part of a board in transit. A tongue that is bruised in a carton is harder to fit than a tongue that was cut slightly off. Cartons should hold boards square and flush, with no board standing proud at the ends, and cartons on a pallet should be stacked so that the weight does not rest on projecting ends. Packing and labeling are part of the order, and our article on export packing lists what to specify.
What to check on a sample
You can check an end profile without special equipment.
- Fit two boards end to end. The tongue should enter the groove with hand pressure and no force, and the faces should sit level.
- Look at the gap. Hold the joint up to the light. A very fine, even line is a good result.
- Check squareness. Hold a try square against the end of a board. The end should be square to the long edge.
- Compare lengths. In a fixed length order, lay several boards side by side and compare the ends.
- Look at the tongue. Check the end tongue for chips and bruising.
- Dry lay a few rows. Stagger the ends as they will be laid and sight along the joints.
Writing it into the RFQ
| Item | A clear statement |
|---|---|
| Joint system | Tongue and groove on all four sides |
| Length | Random length, or fixed length with the length stated |
| Edge detail | Square face edge or micro-bevel |
| Pattern formats | Block lengths and angles, or a drawing |
| Packing | Cartons that protect the end tongue |
If the project needs a different end detail, send a drawing of the profile and ask what can be made.
Working with Vu Uy Wood
Vu Uy Wood manufactures solid and engineered French White Oak flooring to buyer specification in Song Than 3 Industrial Park, Ho Chi Minh City, and has done so since 2006. Our production page shows the machining route, and the Specify page sets length, format and edge detail. We normally reply within one working day.