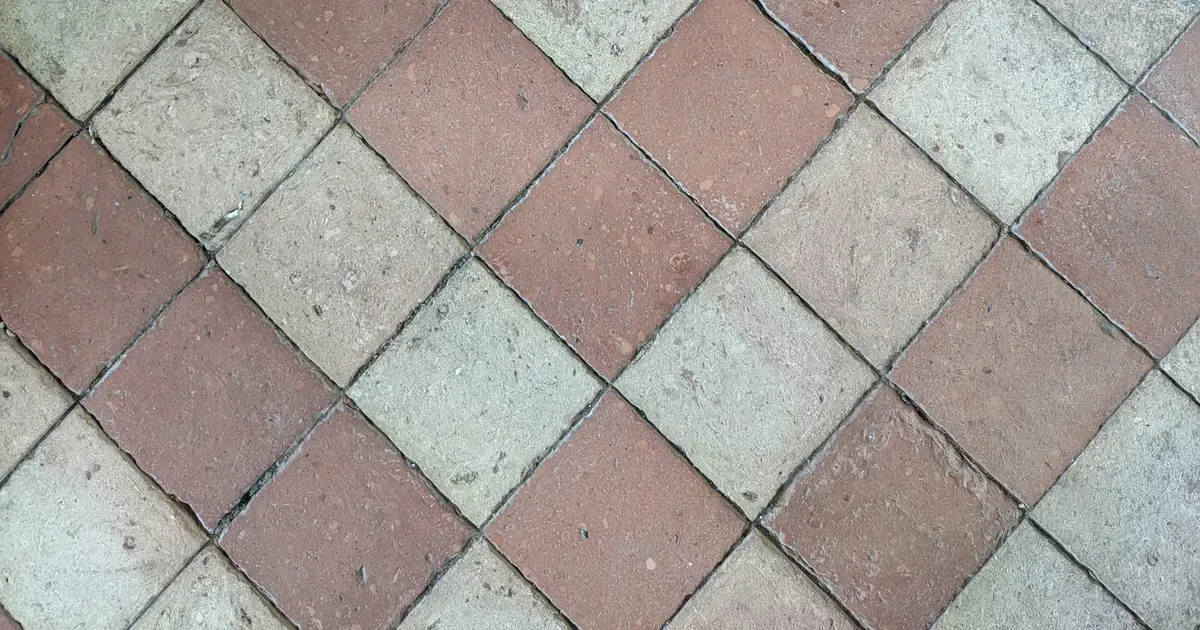
Renovation projects often start with a tiled floor that nobody wants to keep. Taking the tile up is noisy, dusty and slow, and it can damage the screed or slab underneath. Laying a new engineered oak floor over the tile is often possible, and it can save time on the program. Whether it is the right choice depends on the condition of the tile, how much floor height the room can give up and which installation method suits the surface. This article sets out what to check before the boards are ordered, and which decisions belong to the installer and the adhesive maker.
Why cover tile at all
Covering tile avoids the demolition stage. There is less waste to remove, less disruption to neighbors in occupied buildings, and less risk of exposing problems in the base below. For apartments, hotels and offices where the work happens floor by floor, that can make a real difference to the schedule.
The trade-off is height and certainty. A new floor over tile always raises the finished level, and the tile hides whatever is under it. The checks below are about reducing that uncertainty before the specification is fixed.
Check 1: Is the tile still bonded?
A new floor glued to tile is only as secure as the tile’s own bond to the base. If tiles are loose or hollow, the new floor can move with them, and a glued joint can fail.
- Sound every tile. The installer taps across the floor and listens for a hollow note, which shows a tile that has lost its bond.
- Loose or cracked tiles are removed and the gap is filled with a suitable patching compound, to the adhesive maker’s approval.
- Widespread hollow tiles point to a bond problem across the floor. In that case removing the tile is often the safer route.
A small number of loose tiles is a repair. A large number is a sign that the base or the original installation has a problem, and that should be understood before anything is laid on top.
Check 2: Is the surface flat enough?
A tiled floor has its own flatness problems:
- Grout lines sit below the tile face, leaving a grid of shallow channels.
- Lippage, where one tile edge sits higher than its neighbor, creates small steps.
- The overall plane of the floor may dip or rise across the room.
A glued wood floor follows the surface it is bonded to, so these features can telegraph through as hollow spots, uneven joints or boards that rock. The installer usually grinds high edges, then fills grout lines or applies a skim coat or leveling compound, using a product the adhesive maker approves over tile. The flatness tolerance comes from the installation guidance and the adhesive maker, and the installer checks it with a straightedge before installation.
Wider and longer boards bridge more of the surface, so they show unevenness more readily. If the floor will be wide plank, plan for more preparation.
Check 3: Will the adhesive bond to the tile surface?
Glazed and polished tile faces are smooth and non-porous, and many adhesives do not grip them well as they are. Adhesive makers commonly ask for one or more of the following:
- Thorough cleaning to remove grease, sealers and cleaning residues
- Mechanical abrasion of the glaze to give the adhesive a key
- A primer designed for non-porous surfaces
These steps vary by product, so the installer follows the data sheet of the adhesive chosen for the job.
Check 4: What is under the tile?
Tile is often laid on a concrete slab or screed, sometimes on a wood subfloor. The base still matters:
- On concrete, moisture may be present below the tile. The installer decides how to assess it. Our article on concrete moisture testing names the common test methods.
- On a wood subfloor, the structure must be sound and stiff enough for the new floor. Nailing through tile is not practical, so the method is usually glue-down or, where agreed, floating.
- Radiant heating under the tile changes the conversation. The heating system maker and the adhesive maker set their own conditions.
Our article on subfloor materials for oak flooring covers how each base affects the choice of method and construction.
Check 5: How much height can the room take?
Every layer adds to the finished floor height:
- Any leveling compound or skim coat over the tile
- Primer and adhesive, or an underlayment for a floating floor
- The flooring board itself
Before choosing a board, work back from the fixed points in the room:
| Fixed point | What to check |
|---|---|
| Doors | Clearance under each door, including the swing over the new floor |
| Thresholds | The step to rooms where the tile stays, such as bathrooms |
| Kitchen units | Toe kick height and whether appliances still slide out |
| Built-in appliances | Clearance for a dishwasher or similar unit under a worktop |
| Stairs | The first and last riser heights, which must stay consistent |
| Lift landings | The level at the lift door in apartment and hotel buildings |
| Floor outlets and vents | Whether frames and grilles need to be raised |
Doors can be trimmed, but thresholds, stair risers and lift landings are harder to change. A thinner engineered build often solves the problem. Our standard builds are 5/8” (15mm) overall with a 3mm sawn wear layer and 3/4” (20mm) overall with a 6mm sawn wear layer. Other thicknesses from 3/8” (10mm) to 13/16” (21mm) are made to order. A thinner build keeps height down; a thicker wear layer leaves more oak for future sanding. The choice is a balance, and it is easier to make once the installer has measured the room.
Choosing the installation method
Glue-down is the most common method over tile. The board is bonded to the prepared tile surface with an adhesive approved for that substrate. It keeps the build-up low and gives a solid feel underfoot.
Floating is the other option. The floor rests on an underlayment over the tile, and the boards are held together by their own joints. With our Tongue & Groove boards, a floating floor relies on glued joints, and whether it suits the board, the room size and the underlayment should be agreed with the installer before the specification is fixed. The underlayment adds height, which needs to be counted in Check 5. Our article on floating installation of T&G engineered oak explains how the method works and where it has limits.
Nail-down is not used over tile, because the tile cannot hold a fastener and should not be nailed through.
The wider principles of method and specification are covered in glue-down, nail-down or floating.
Cover or remove: a quick comparison
| Factor | Cover the tile | Remove the tile |
|---|---|---|
| Demolition and waste | Avoided | Required |
| Floor height | Rises by the full build-up | Lower, closer to the original level |
| Knowledge of the base | Hidden under tile | Exposed and checkable |
| Surface preparation | Bond, flatness and primer checks | Base repair and leveling |
| Best suited to | Sound, well-bonded tile with height available | Loose tile, height limits, doubtful base |
What to put in the RFQ
- That the floor will be laid over existing tile, and the base under it
- The installation method being considered: glue-down, or floating to be agreed
- The adhesive or underlayment, if already chosen
- The height available after preparation
- Whether radiant heating is present
- Construction, thickness, wear layer, width, grade, color, texture and sheen
- Quantity in sq ft per area, and the delivery address or port
Working with Vu Uy Wood
Vu Uy Wood manufactures made-to-order solid and engineered French White Oak flooring in Song Than 3 Industrial Park, Ho Chi Minh City, and has done so since 2006. For renovation work over tile, tell us the base, the planned method and the height available along with your selections on the Specify page, or send the details through our contact page. We normally reply within one working day.