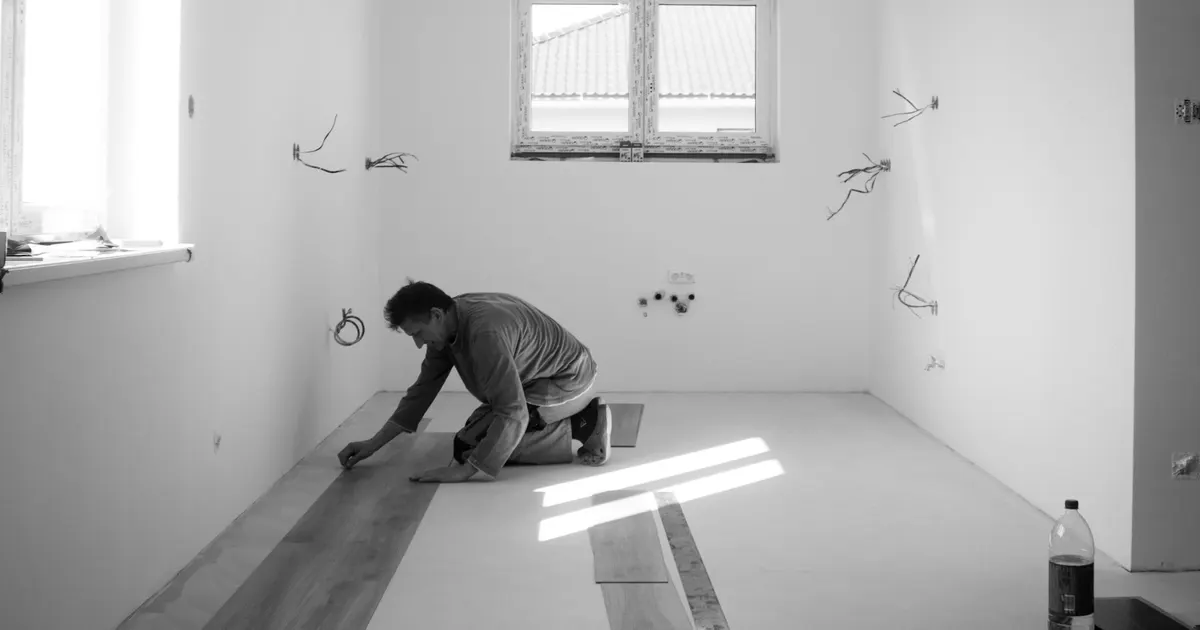
Over a concrete slab, engineered oak is usually glued down. The adhesive holds the whole underside of the board to the slab, the tongue and groove keeps boards level with each other, and the result feels solid underfoot and sounds quieter than a floor laid loose. A glued floor is also unforgiving: it is only as good as the slab preparation and the adhesive work. This article sets out the sequence an installer follows, so buyers and specifiers know what happens on site and what the board needs to bring. Moisture limits, trowel size, open time and cure time come from the adhesive maker, the installer and the NWFA installation guidelines for the project.
Who decides what
| Decision | Who makes it |
|---|---|
| Whether the slab is ready for wood | Installer, testing on site |
| Moisture test method and acceptable result | Installer, following the adhesive maker and local guidance |
| Adhesive, primer, moisture control layer, trowel | Adhesive maker, applied by the installer |
| Flatness and slab repairs | Installer |
| Construction, thickness, width, profile and finish | Buyer, with the factory |
The factory does not test the slab or set adhesive limits. Its part is to build a board that suits the method, with a consistent profile and a sound core, and to hold the specification across the order. Our article on engineered oak over concrete slabs covers what to specify before this point.
Step 1: Test the slab
Concrete gives up its mix water slowly and can draw moisture from the ground. Before any adhesive goes down, the installer tests the slab using the method the adhesive maker and local guidance call for. Two standard methods are common:
- ASTM F2170, which measures relative humidity inside the slab with probes set into drilled holes.
- ASTM F1869, the calcium chloride test, which measures moisture coming off the slab surface.
Some adhesive makers also ask for the surface pH of the slab. The acceptable results are set by the adhesive maker for their product. The installer records the test locations, dates and readings, because the adhesive maker may ask to see them. Our article on concrete moisture testing before wood flooring explains the methods in more detail.
If readings are above what the adhesive maker allows, the options are to wait, to use an adhesive with an integral moisture control system, or to apply a separate moisture control membrane under the adhesive. That is a decision for the installer and the adhesive maker together.
Step 2: Prepare the surface
A glued floor follows the slab. The installer checks flatness with a long straightedge across the room in several directions and works to the flatness the adhesive maker and installation guidance set.
- High spots are ground down.
- Low spots are filled with a patching or self-leveling compound that the adhesive maker accepts under their product.
- Contaminants such as curing compounds, paint, old adhesive residue, oil and sealers are removed, usually by grinding, since they stop the adhesive from bonding.
- Dust is vacuumed off completely. Adhesive bonds to concrete, not to dust lying on it.
Cracks and moving joints in the slab are assessed by the installer and detailed through the floor, not simply glued over.
Step 3: Prime or apply the moisture control layer
Some adhesives need a primer to seal a porous slab or to bond over a patching compound. Others are applied straight onto clean concrete. If a moisture control membrane is part of the system, it goes on here, applied to the coverage and drying time the maker specifies. The installer follows one maker’s system from primer to adhesive rather than mixing products. Our article on vapor retarders and moisture barriers explains the types.
Step 4: Rack out boards and snap a working line
Boards stay in their cartons until site conditions meet the installer’s requirements. Before spreading adhesive, the installer opens several cartons and lays out boards dry, mixing lengths and the natural color movement of the oak, and planning end-joint stagger. Any board that does not match the approved sample is set aside and raised before installation, not after.
The installer then snaps a straight working line, usually off the longest straight wall or the main sight line. Many installers fix a straight batten along it so the first rows can be pushed tight against it while the adhesive is wet.
Step 5: Spread adhesive and set the boards
The adhesive is spread with the trowel the adhesive maker specifies for that product and board. The notch size, the trowel angle and the open time (how long the spread adhesive stays workable) all come from the maker.
The points that make the difference:
- Spread only what can be covered in the open time. Adhesive that has skinned over will not bond properly.
- Check transfer. The installer lifts a freshly laid board now and then to check adhesive coverage on the underside. Poor transfer leaves hollow spots.
- Close joints without forcing the adhesive up. Boards are slid into place tongue to groove and tapped tight with a block. Adhesive should not be pushed up into the joint.
- Keep the finished face clean. On a prefinished UV-cured board, adhesive on the face is removed straight away with the cleaner the adhesive maker approves for finished floors. Cured adhesive is much harder to remove without marking the finish.
Step 6: Roll, weight and hold the boards
Many adhesive makers call for the floor to be rolled with a flooring roller after laying, to press the boards into the adhesive and improve transfer. Boards that do not sit flat are weighted until the adhesive takes hold. Some installers also hold joints together with a low-tack tape approved for finished floors. Any tape is removed within the time its maker states, because some tapes can pull or mark a finish if left on.
Step 7: Cure and protect
Foot traffic, furniture and other trades stay off the floor for the cure time the adhesive maker states. The floor is then protected with a breathable covering suited to finished floors until the end of the project. If the slab is heated, the heating system maker and the adhesive maker add their own start-up procedure; see engineered oak flooring over radiant heating.
What the board contributes
A glued floor relies on a flat, stable board and a consistent profile. At Vu Uy Wood, lumber is kiln-dried and checked against the moisture target for the order, the wear layer is pressed to the core with spread, pressure and press time controlled, and Tongue & Groove is machined on all four sides on HOMAG equipment. Moisture is checked again before packing. The full route is shown on our Production page. If a specific adhesive has been chosen, tell us, because the underside of the board is part of what it bonds to.
What to put in the RFQ for a glue-down floor
- The installation method: glue-down, over a concrete slab or other subfloor
- The adhesive system, if already chosen
- Whether the slab is heated
- Any floor-height limit after leveling and moisture control
- Construction, overall thickness and wear layer, for example 5/8” (15mm) overall with a 3mm sawn wear layer, or 3/4” (20mm) with a 6mm sawn wear layer
- Width, length, grade, color, texture and sheen
- Profile: T&G on four sides, or square edge on request
- Quantity in sq ft per area, and delivery address or port
Working with Vu Uy Wood
Vu Uy Wood manufactures made-to-order solid and engineered French White Oak flooring in Song Than 3 Industrial Park, Ho Chi Minh City, and has done so since 2006. Our Tongue & Groove profile is intended for glue-down or nail-down installation, and square edge is available on request. Tell us the subfloor, adhesive and any height limit along with your selections on the Specify page, and the specification is reviewed with them in mind. We normally reply within one working day.