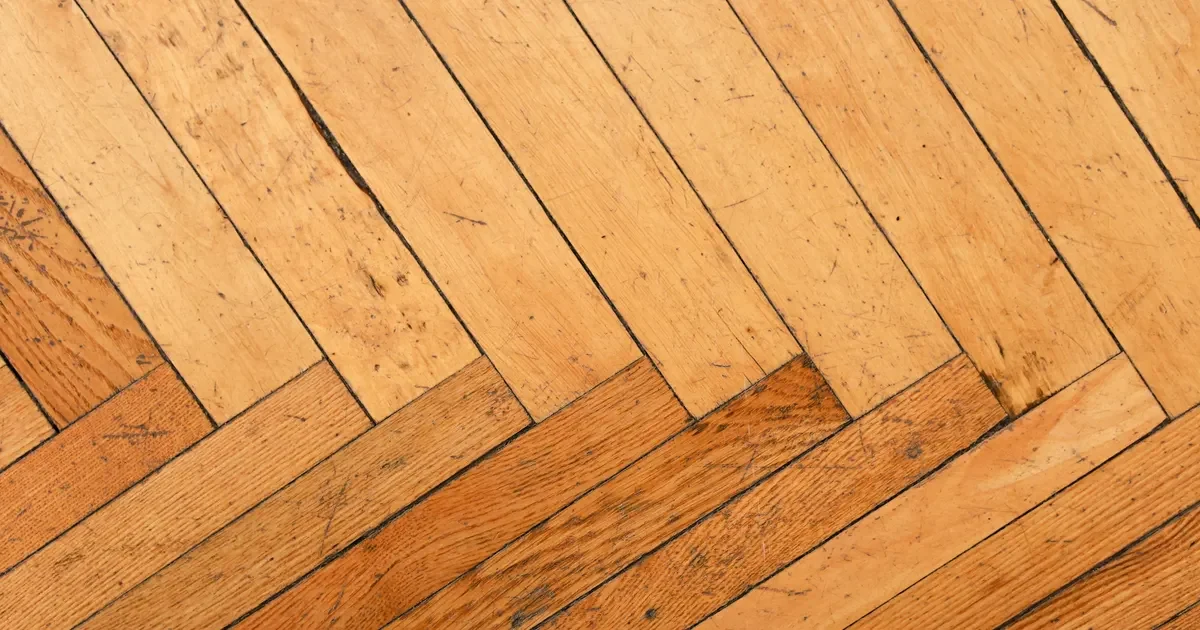
A herringbone floor is decided twice: once on the drawing, and again in the first hour on site, when the installer sets out the centerline and lays the first pair of blocks. Everything else follows from those two moves. If the centerline is in the wrong place, the pattern runs off at a wall or the cut blocks at the doorway are uneven. This article explains how a herringbone layout is set out, step by step, and what the drawing has to provide. The installation method, adhesive and site limits are set by the installer, the adhesive maker and the NWFA installation guidelines.
The parts of a herringbone layout
- Left and right blocks. Herringbone uses two mirror-image blocks. With a tongue and groove profile, the tongue and groove sit on opposite sides in each hand, so a left block cannot be turned around and used as a right block.
- Pattern axis, or centerline. The straight line the pattern runs along, usually through the points of one row of the zigzag.
- Working lines. Lines parallel to the centerline that mark where the points or inside corners of the blocks fall. They are what the installer lays to.
- Field and border. The field is the main area of the pattern; the border is a band of plank or block around it.
Our herringbone specification guide covers the blocks themselves: pairs, fixed block length, width, profile and construction.
Step 1: Decide the direction of the pattern
The points of a herringbone floor read as arrows and lead the eye. Common choices are:
- Along the longest dimension of the room.
- Toward the main entrance or window, so the pattern is seen end-on.
- Along a corridor, drawing people through.
This is a design decision, and it belongs on the drawing, along with whether one axis runs through connected rooms or each room has its own.
Step 2: Find the centerline
The centerline is placed where the pattern needs to be symmetrical. In a regular room, that is the center measured from the side walls at both ends. In a corridor, it is the center, so the cut blocks along both walls are the same size. In an open plan, it may be the line of a doorway, a fireplace, a kitchen island or the main sight line from the entrance.
The centerline is snapped on the subfloor and checked against the drawing. Rooms are rarely square, so the installer measures from the walls at several points, checks the diagonals, and decides which feature the pattern follows when they disagree. Usually that is the most visible wall or the main entrance, with any error taken up where it is least seen, or in the border.
Step 3: Set the working lines by dry laying
The distance from the centerline to the working lines depends on the block width and block length. Most installers dry-lay a short run of left and right pairs along the centerline, measure where the points fall, and snap the working lines from that.
Because every block in the order is cut to one fixed length, set from the buyer’s drawing, the measurement taken on the first pairs holds for the whole floor. In a phased project, keep the length the same in every phase.
Step 4: Lay the first pair and the first run
Installers commonly fix a straight batten or a squared jig to the subfloor along a working line, set the first left and right block tight against it to form the first point, and check that the pair sits square to the centerline.
From there, the installer lays a straight run of pairs along the axis. The points must stay on the working lines and the joints must close without gaps building. Small errors here repeat in every row that follows, so it is easier to correct three pairs than thirty.
Where the floor has a T&G profile, the profile also decides the order of work. Each new block engages the tongue of the block already laid, so the pattern usually grows in one direction from the start run. Where it has to grow both ways, the installer uses their own method for the reverse side, for example a loose tongue (spline). Square-edge blocks, available on request, have no tongue and groove and rely entirely on the adhesive and a flat subfloor, so the method is agreed with the installer before the order.
Step 5: Build out the field
Once the start run is straight and square, the installer works outward row by row, alternating left and right blocks. At Vu Uy, herringbone is packed as left and right pairs so the two hands travel together; a shortage of one hand stops the job even when the total square footage is correct.
Blocks from several cartons are mixed so knots and color movement spread evenly, because the eye reads the field as a whole. The approved sample remains the reference for color and grade.
Herringbone is most often glued down, particularly over concrete, which suits the short blocks. Over a wood subfloor the installer may glue, or glue and fasten, as the guidance for the block size allows. See glue-down installation over concrete for the sequence.
Step 6: Cut the field and fit the border
There are two common ways to finish the edges.
Cut to the wall. The field runs to the walls and the blocks are cut to fit, with the expansion space covered by the base. The centerline decides whether the cuts are even on both sides.
Cut to a straight line and add a border. The installer snaps a straight line around the field, cuts all the blocks along it, and fits a border of plank or block between the field and the wall. The border hides the uneven cut ends and absorbs a room that is out of square: the band can taper slightly against the wall while the line against the field stays straight. Border corners are usually mitered or laid with a square corner block.
| Edge treatment | What it does | What the drawing should show |
|---|---|---|
| Cut to the wall | Simplest; cuts visible at walls | Centerline position, so cuts are balanced |
| Single border band | Clean frame, absorbs out-of-square walls | Border width, material and corner detail |
| Double border or inset | A stronger frame or a rug-like panel | Each band, with widths and corner details |
| Border around features | Frames hearths, islands, columns | Outline of each feature and the gap around it |
Doorways and transitions
At a doorway, the pattern either continues on the same axis or stops at a threshold or border. If it continues, the centerline often runs through the center of the opening, so the doorway shows a balanced pattern. Where herringbone meets chevron on one project, see chevron vs herringbone.
What the drawing should give the installer
- The pattern direction and the centerline, dimensioned to fixed points in the room.
- Block width and block length, in inches with millimeters in brackets.
- The pattern drawn to scale over the actual room plan.
- Borders: width, material, corner detail and features framed.
- How the pattern continues or stops at each doorway.
- Quantity in sq ft per area, ordered and checked in left and right pairs.
The scale of the pattern itself, set by width and length together, is covered in herringbone block proportions. Across the 10 herringbone projects on our completed work page, blocks have been produced in five widths: 3-1/4” (83mm), 3-1/2” (89mm), 5” (127mm), 7-1/2” (190mm) and 9” (229mm).
Working with Vu Uy Wood
Vu Uy Wood manufactures made-to-order solid and engineered French White Oak flooring in Song Than 3 Industrial Park, Ho Chi Minh City, and has done so since 2006, with herringbone, chevron, plank and parquet produced to drawing. Block length is fixed from your drawing and held for the whole order, and herringbone is packed as left and right pairs. Set width, grade and finish on the Specify page and attach the layout drawing; it is reviewed together with the specification. We normally reply within one working day.